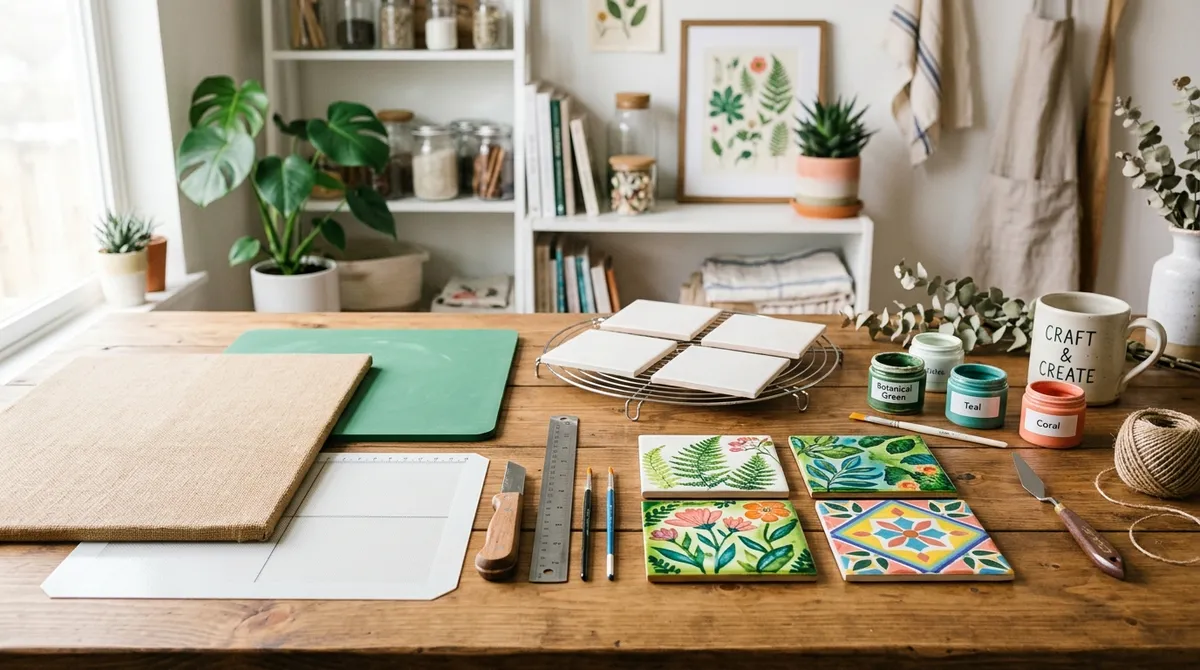
Are you ready to learn how to create custom sublimation tiles that you can use in your home? I'm going to test a few different ways of sublimating tiles so we can see which method works best.
If you've struggled sublimating on tile, this tutorial is sure to help! If you're new to sublimation, my Beginner's Guide to Sublimation is a great place to start your sublimation journey.
In this tutorial, I'm going to show you how to sublimate a tile that can be added to a cheeseboard and also how to make tiles that you can actually use as accents in your home.
How to Make Custom Sublimation Tiles
We're going to make these sublimation tiles in a couple of different ways. Each process works, so if you have supplies on hand for one method, go ahead and use that one.
Supplies Used
Remember, we're using a couple of different methods. You don't need all the supplies. Make sure to read through and get the supplies you need for the method you're using.
Sublimation Tile Types
Sublimation tiles need to have a sublimation coating on them. You can't just buy a tile at the hardware store and use it for sublimation. If you've struggled with sublimation tiles, make sure you're using a sublimation blank.
I'm using sublimation tiles from Amazon and a matte sublimation tile from Johnson Plastics Plus. I'm also testing a sublimation tile that can be added to a cheeseboard.
Sublimation Pads
Because sublimation tiles can be rounded on the edges you may have some pressing issues. Let's look at the different pads you can use to get the best results.
Nomex Pad
When using a Nomex pad, place the pad on the bottom platen in the heat press. Place the protective paper on top of the pad and then add the sublimation tile with the sublimation print taped into place face down on the Nomex pad.
The Nomex pad allows the tile to squish down into the pad so you get consistent pressure even on the rounded edges.
Rubber Pad
The next pad option is the green rubber pad. It's heat conductive and has been a reliable option for years.
When using the rubber pad, place it on top of the sublimation blank. It will conform to the tile shape and conduct the heat throughout the rubber pad.
This pad is expensive and often sells out, which brings us to the next pad option.
White Silicone Mat
Because the green rubber pad can be hard to find, the white silicone mat is a great alternative. It's supposed to do the same thing as the green pad and is a lot less expensive.
You'll use the silicone mat just like the rubber pad — add the mat to the top of the blank and it will conform around the tile while conducting heat through the mat.
I'm going to test all three pads on the Amazon tile first so I can compare the results.
Step 1: Prep the Tile
For each different mat, prep the tile in the same manner.
First, clean the tile using a lint roller or rubbing alcohol and a cloth. Make sure the tile is completely dry before adding the print.
Next, make sure the tiles are at room temperature. If they're cold or hot, it can impact the sublimation results. If the tile is cold, you can add it to your heat press and hover the heat plate over it to bring it up to room temperature.
Add the sublimation print to the tile and secure it in place with heat-resistant tape. The print should be slightly oversized so the design transfers to the sides. Don't get tape on the sides of the tile or it will prevent the design from transferring.
Step 2: Press the Sublimation Tiles
Protective paper needs to be added to the top and bottom of the sublimation tile.
Preheat the pad each time so the inside of the press is very hot, including the bottom surface. Check the pressure using a spare tile before pressing — you want heavy pressure when pressing sublimation tiles.
Press each tile at 400 degrees for 400 seconds.
Pressing with a Nomex Pad
With the Nomex pad inside, close the heat press and preheat the press with the pad inside.
Open the press and add protective paper on top of the Nomex pad. Place the tile sublimation print-side down on top of the protective paper and cover with another sheet of protective paper.
Press for the full time, then remove and place on a heat-resistant mat to cool.
Pressing with a Green Rubber Pad
Preheat the rubber pad and adjust the pressure for the tile.
Add protective paper to the bottom platen and place the sublimation tile print-side up on top. Place another sheet of protective paper on top and cover with the rubber pad.
Press for the full time, then remove the tile and place it on a heat-resistant mat to cool.
Pressing with a White Silicone Pad
The silicone sheet may come with a protective sheet on it that isn't heat resistant — remove that before pressing.
The process for using the white silicone pad is the same as using the rubber pad. Press at 400 degrees for 400 seconds, then remove from the heat press and place on a heat-resistant mat to cool.
Pressing without a Mat
For the last test, I pressed with no pad or mat just to see what would happen.
Add a sheet of protective paper to the bottom platen, place the tile on top with the sublimation print facing up, add another sheet of protective paper on top, and press for 400 seconds at 400 degrees.
Step 3: Finishing the Sublimation Tiles
Remove the sublimation print from the tile. This can be done while the tile is still warm if you wear heat-resistant gloves.
Allow the tile to cool — no sealing or additional process is required for using these tiles indoors.
Which Pad Works Best?
Here's a comparison of the results from each method:
- Nomex Pad: Bright and vibrant with amazing-looking edges.
- Green Rubber Pad: Looks just as good as the Nomex pad tile.
- White Silicone Mat: Also turned out perfectly. Since it was new to me I wasn't sure how it would do, but this tile looks just as good as the Nomex and rubber pad tiles.
- No Pad: The edges are okay and the print did transfer, but the tile is very dull compared to the others. Even after scrubbing, it remained dull.
I would not recommend pressing a tile without using one of the pads.
More Sublimation Tile Project Ideas
Now that I've tested all the different pressing methods, I'm going to make a couple of additional projects using the white silicone mat, since it's the least expensive option and worked so well.
Matte Sublimation Tile
The process for the matte tile is the same as before. Preheat the press to 400 degrees with the mat inside.
Adjust the pressure with a blank tile, then add protective paper to the bottom of the heat press. Place the sublimation tile on top with the sublimation print taped into place facing up. Top with another piece of protective paper and add the white silicone mat on top.
Close the press and press at 400 degrees for 400 seconds.
When the time is up, remove the tile and move it to a heat-resistant mat to cool.
The matte tile turned out beautifully. Even though it has a slightly more rounded edge than the glossy tiles, the design transferred perfectly and the image is vibrant and really pops off the tile.
Sublimation Tile Cheeseboard
The cheeseboard tile is the largest tile in this project. The process is exactly the same as all the other tiles — just make sure to remove the tile from the cheeseboard before pressing. Don't try to press it while it's still in the board.
Even though the tile is larger, pressing at the same time and temperature worked great. Once cooled, add the tile back to the board to assemble the cheeseboard. To clean it, simply remove the tile and wipe everything down.
The sublimation print is very vibrant and looks great paired with the wood of the board.
The Best Way to Make Sublimation Tiles
After testing all these different pressing options, I would recommend any of the three pads — Nomex, green rubber, or white silicone. The only method I wouldn't recommend is pressing without a pad.
If you already own a Nomex pad or a green rubber pad, go ahead and use those. If you don't have one, the white silicone mat does an awesome job and is a lot less expensive.
I hope this tutorial has answered your questions about making sublimation tiles. If you have any additional questions, leave them in the comments!